In this article
Say you are flying next month. Your phone has a SIM slot, but no built-in eSIM. You want mobile data when you land, without hunting for a SIM shop. This guide shows one realistic way to prepare with the Flipesim physical eSIM card, in the order that makes setup easiest.
This is an example, not a real story. Your steps may differ a little by phone and by provider.
Check that the card is right for your phone
Start by checking your phone. The card is for phones that have a SIM slot but no built-in eSIM. If your phone already has eSIM, you do not need it. Phones running Xiaomi, Redmi or Poco HyperOS are not supported.
The quickest test is to look for an EID. You can follow the steps in Does my phone support eSIM?
Two weeks before: get the hardware
Order the card early, so it arrives before you leave. If you use an iPhone, also get the USB-C card reader, because it is needed to load profiles. Most supported Android phones do not need the reader.
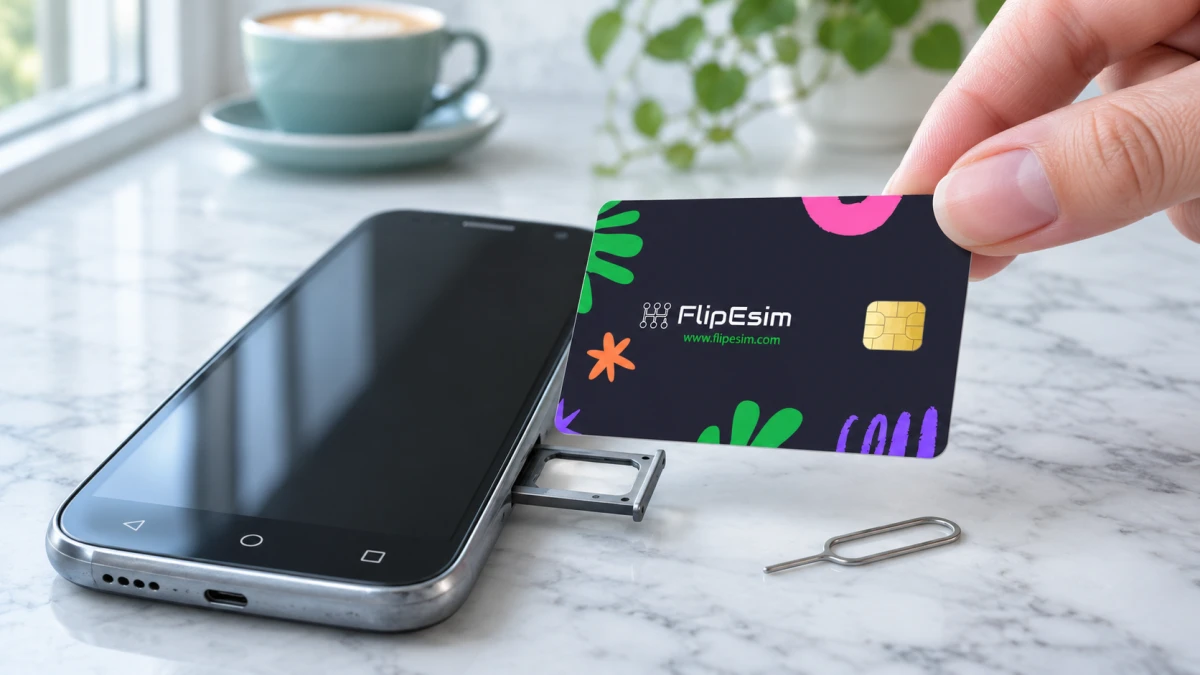
The card has three sizes in one. Break out the size your phone needs: Mini, Micro or Nano.
One week before: choose and load your plan
Flipesim does not sell data plans. Pick an eSIM provider, for example Airalo, Holafly, Saily, Nomad, GigSky or Booking.com eSIM. Check that the plan covers every country on your trip. Coverage and price come from the provider.
Then load the plan onto the card. Use a Wi-Fi connection and follow these steps:
- Put the card in your phone, or in the card reader.
- Open the free Flipesim app and tap the plus button.
- Scan the provider's QR code, or type the details in by hand.
- Wait for the profile to download to the card.
Before you turn the profile on, read the provider's rules about when the plan starts. Some plans begin when you install them, and some begin when you first connect. This is one more reason to check the details early.
The day before: a short test
Open the app and check that the profile is listed on the card. Find the SIM Toolkit menu in your phone settings, so you know where to switch profiles without the app. Menu names differ by phone, so use the Settings search box if you cannot find it.
If your phone has two SIM slots, keep your home SIM in for calls and verification codes. The card is only for the travel data.
After you land: turn on the profile
Turn on the travel profile in the app, or from the SIM Toolkit menu. Check that mobile data works. You can switch profiles in either place.
If data does not work, check the profile is on and the plan covers the country. Then contact the provider about the plan. For problems with the card or the app, see the Flipesim FAQ.
Quick questions
Can I prepare the card before I travel?
Yes. Load the plan on Wi-Fi before you leave, and check that the profile is listed in the app.
Can I keep my home number while I use the card?
On a dual-SIM phone, you can keep your home SIM in for calls and verification codes while the card provides travel data.
How many plans can one card keep?
Up to 10 eSIM profiles. You can switch between them in the app or from the SIM Toolkit menu.
Can I use the card again on the next trip?
Yes. The card is reusable, and profile downloads are unlimited. Check the plan with your provider before you rely on an old profile.
Explore the Flipesim Physical eSIM Card
Store downloadable eSIM profiles on a removable card. Check your phone, plan and installation method with Flipesim before buying. iPhone setup requires a card reader.